




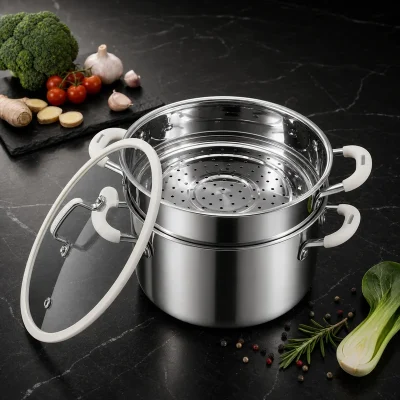



A cookware body starts as sheet or coil, which is blanked into a circular disc and then formed through one or more drawing stages. Depending on the material and geometry, intermediate annealing may be required before sizing and trimming. Each stage affects material flow, wall-thickness distribution, roundness and surface condition. For importers, private label brands, wholesalers and HoReCa procurement teams, the useful question is whether the material, tooling, forming route and inspection records match the actual vessel. This guide ends at rim preparation; sanding, polishing, cleaning, assembly and packing belong to the next manufacturing stage.
In Brief
- Deep drawing controls how a circular blank flows between the punch, die and blank holder; thickness does not remain uniform at every location.
- Shallow bodies may need one draw, while deeper shapes may need redrawing. Intermediate annealing is a separate, material-specific decision.
- Trimming removes earing and forming allowance, sets final body height and prepares the edge for the specified rim.
- Production approval rests on measurable results from the actual vessel, including thickness distribution, dimensions, roundness, surface condition and rim quality.
Contents
- What Is Deep-Drawn Stainless Steel Cookware?
- Cookware Body Forming Process at a Glance
- Step 1: Verify the Stainless Steel or Clad Material
- Step 2: Blank the Sheet into a Controlled Circular Disc
- Step 3: Lubricate and Set Up the Drawing Tool
- Step 4: Form the First Shallow Shell by Deep Drawing
- Step 5: Redraw the Body When Geometry Requires It
- When Is Annealing Needed Between Drawing Stages?
- Step 6: Size and Calibrate the Cookware Body
- Step 7: Trim and Prepare the Rim
- Reading Common Forming Defects
- Pre-Production Checks for B2B Buyers
- Frequently Asked Questions
What Is Deep-Drawn Stainless Steel Cookware?
Deep-drawn stainless steel cookware is made by holding a circular metal blank over a die while a punch forms the base and sidewall. A blank holder controls the flange as material flows inward. Depending on the alloy, clad structure and vessel geometry, several drawing, softening, sizing and trimming operations may be needed.
The mechanics involve more than “stretching a sheet into a pot.” Material in the flange moves toward the die opening, bends around the tooling and experiences different strain paths at the base, transition radius, wall and open edge. The NIST overview of deformation processes and the worldstainless forming guide provide background on this distinction between drawing and stretching.
Cookware Body Forming Process at a Glance
| Stage | Purpose | Useful buyer evidence |
|---|---|---|
| Material verification | Confirm grade, structure, gauge and batch | MTC or CoC, layer stack, traceability |
| Leveling and blanking | Prepare the circular blank | Diameter, gauge, flatness, burr |
| Tool setup | Manage friction and material flow | Tool check and first-piece approval |
| First draw | Form a shallow shell | Wrinkle, split and scoring check |
| Redrawing, if required | Reach the required geometry in controlled stages | Approved route for the specified material |
| Intermediate annealing, if required | Restore formability before a later draw | Material- and construction-specific heat-treatment route |
| Sizing | Calibrate diameter and profile | Gauge and dimension records |
| Trimming | Set height and edge | Height, roundness and burr |
| Inspection | Release the formed body | Golden sample and report |
Step 1: Verify the Stainless Steel or Clad Material
Body-forming control starts before the press. The specification should distinguish a monolithic stainless steel body, a single-wall body that will later receive an impact-bonded base, and a fully clad body formed from an already bonded multilayer sheet. These constructions may look similar after polishing, but they do not share the same forming or heat-treatment assumptions. Buyers comparing the first two routes can review our full-clad versus encapsulated-bottom cookware guide.
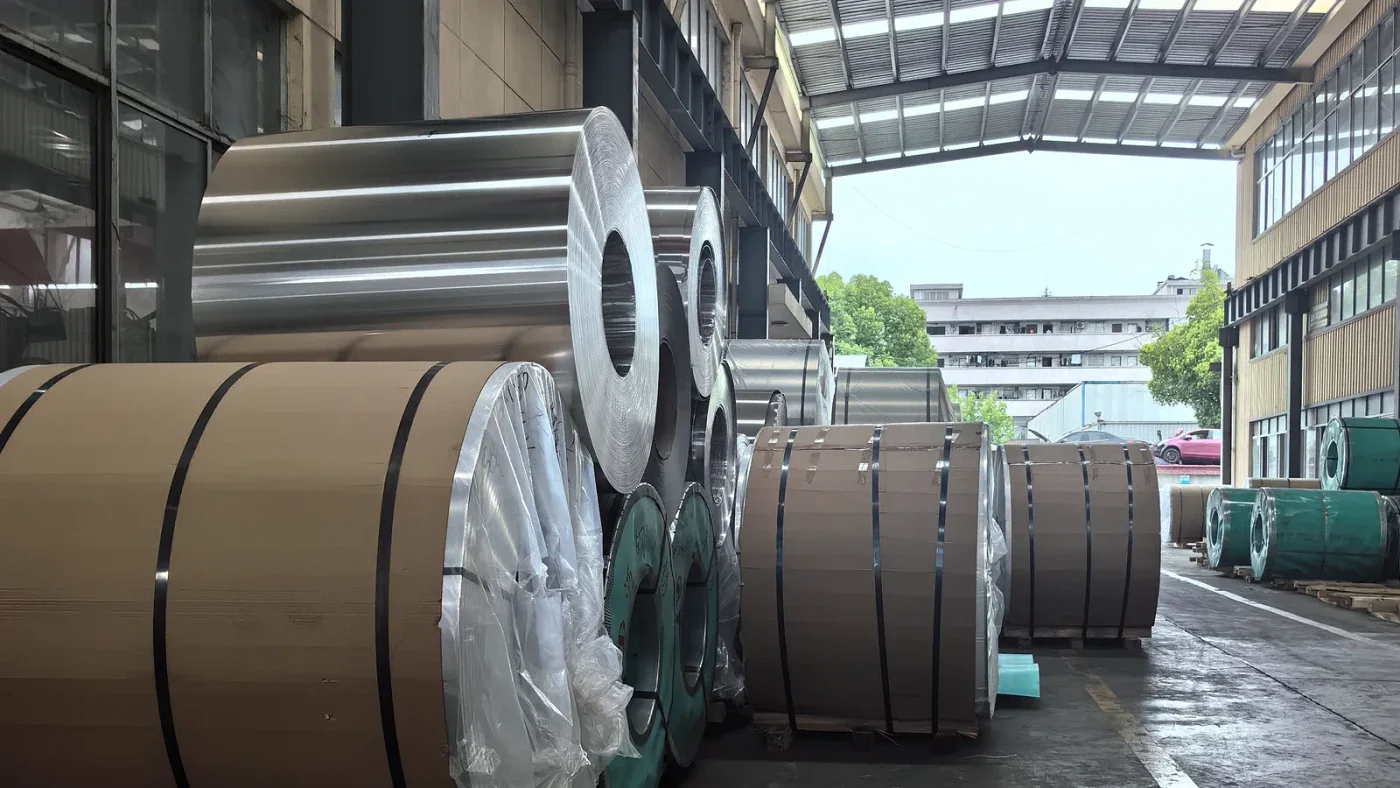
Stainless steel coils prepared for blanking and cookware-body forming.
For a common induction-ready full-clad specification, the declared stack may be SS304/aluminum/SS430. Records should still define nominal total thickness, permitted variation, surface condition, supplied state and batch identification. Individual-layer allocation should be documented separately when it is commercially important.
A “304 stainless steel” certificate does not prove that every coil behaves identically on demanding tooling. Ductility, work hardening, anisotropy and surface state also affect drawability. The Aperam 304/304D/304ED technical sheet illustrates different forming-oriented conditions within the same broad grade family; it is not a Goldensea material claim.
Material documents establish what was supplied; a controlled trial and first-piece record show whether it performs on the actual tooling. Neither replaces the other.
Step 2: Blank the Sheet into a Controlled Circular Disc
Blanking cuts the starting disc from coil or sheet. The circular piece is the blank; the perforated skeleton is scrap. Its diameter must cover the bottom, wall, radius, rim and trim allowance. Too little material may prevent the target height; excessive allowance can increase wrinkling risk and waste.
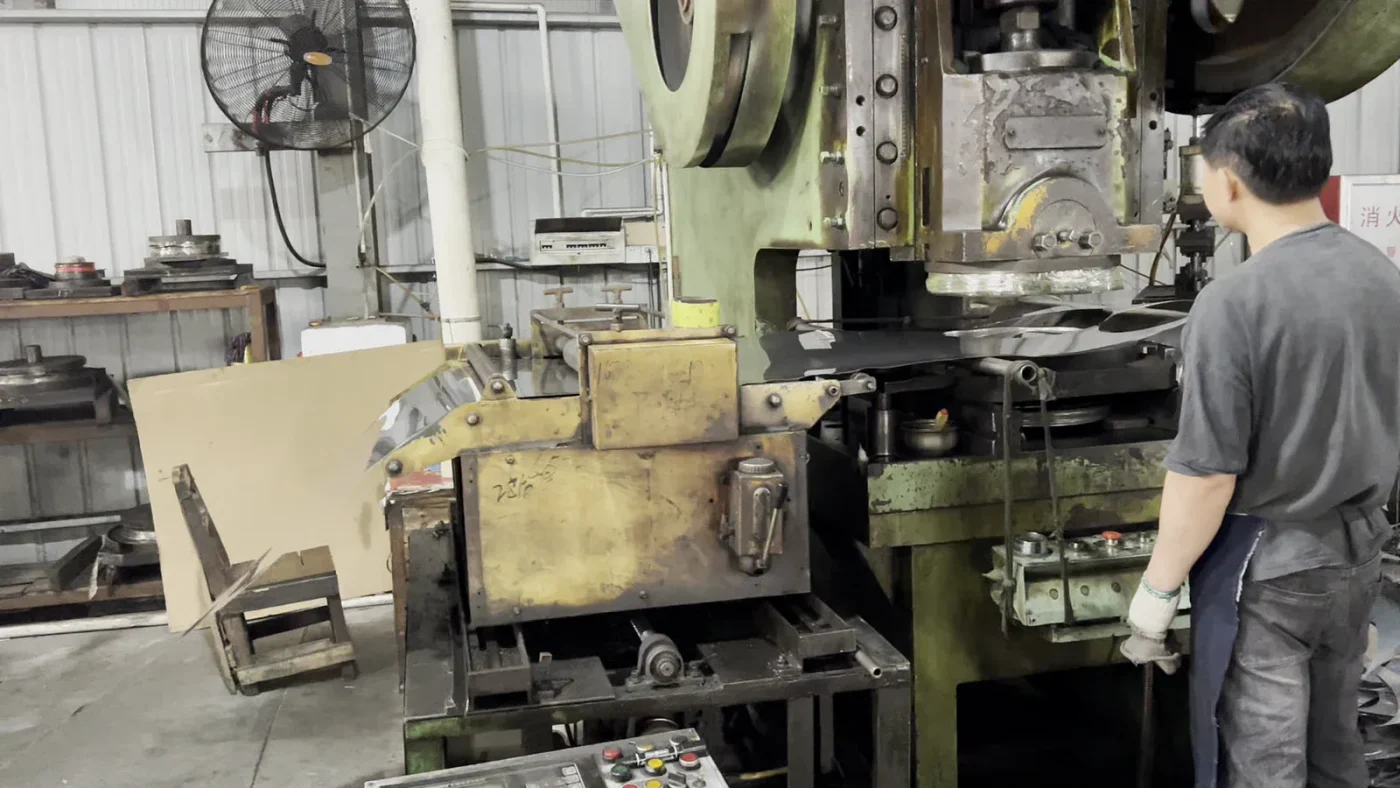
A blanking press cuts circular cookware-body discs from flat sheet, leaving a perforated scrap skeleton.
Inspection should cover diameter, thickness, flatness, edge condition, burr direction and surface damage. Tool clearance and wear influence the sheared zone and burr, but no single clearance percentage applies to every alloy and gauge. An irregular burr can interfere with handling, stacking and tool contact.
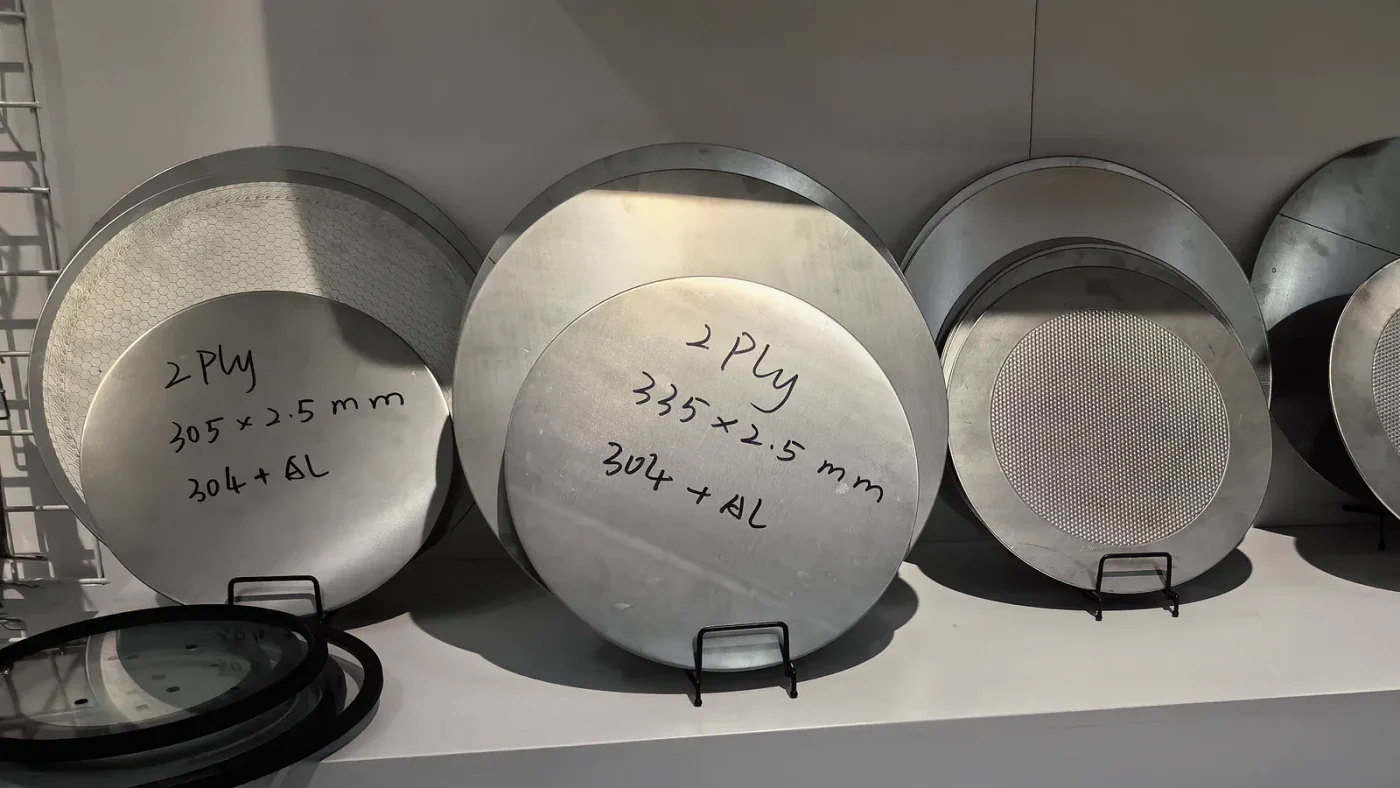
Circular blanks in different diameters, gauges and material constructions, prepared for the target cookware geometry.
Because real cookware includes curved walls, radii and rim allowances, the final blank specification should be validated through tooling trials and finished-body measurements rather than copied from a universal formula.
Step 3: Lubricate and Set Up the Drawing Tool
Stainless steel work-hardens during forming and can be susceptible to adhesive wear or galling. Controlled lubrication, clean tool surfaces and suitable punch and die radii help the blank move without excessive local friction. The lubricant also has to fit the material and downstream cleaning route; its brand, chemistry and application method are process-specific.
The blank holder applies resistance while the flange moves inward. Too little restraint can produce wrinkles; too much can restrict flow and contribute to thinning or splitting. The usable window depends on blank size, material, lubrication, tool geometry, holder force and stroke.
An Outokumpu cookware manufacturing example shows disc inspection, lubrication on both sides and more than one forming stage. It demonstrates the principle, but its material and dimensions should not be treated as a Goldensea product specification.
Step 4: Form the First Shallow Shell by Deep Drawing
During the first draw, the punch moves the blank into the die while the holder manages material arriving from the flange. The bottom, transition radius and sidewall take shape through drawing, bending and stretching in different proportions.
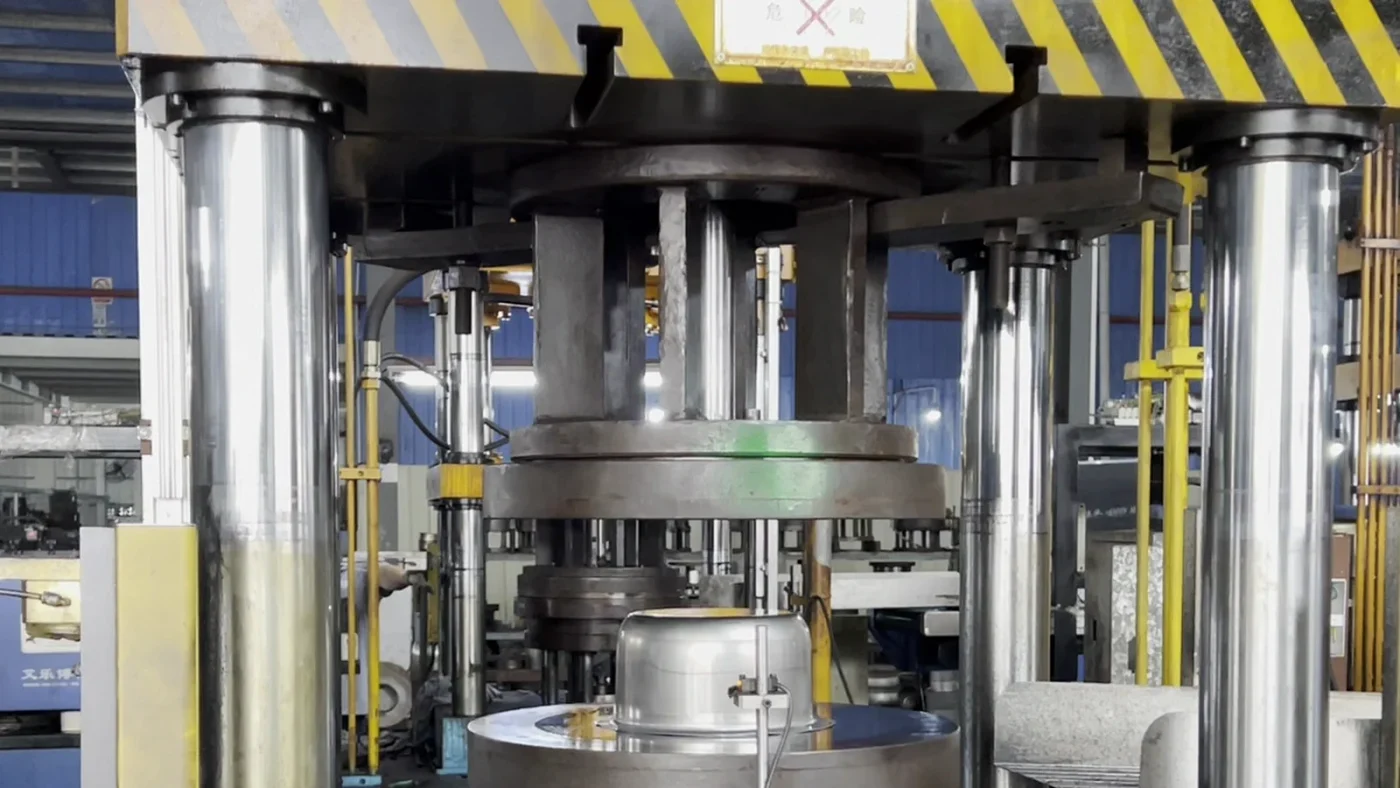
A stainless steel cookware body being shaped with punch-and-die tooling during a drawing operation.
The phrase “the sheet is uniformly stretched into a pot” is misleading. The base, transition radius, wall and upper edge follow different strain paths, and the critical location changes with vessel geometry, layer stack and process settings. For sample approval, use a location-specific thickness map rather than relying on one rim measurement or finished weight. Our tri-ply cookware thickness guide explains how to define those measurement points.
Inspect the first drawn piece before polishing, because later finishing can hide light scoring and surface roughening. Check for wrinkles extending into the wall, splits, dents and other visible defects. A marked unpolished shell helps distinguish forming issues from later finishing damage.
Step 5: Redraw the Body When Geometry Requires It
Some shallow bodies reach target geometry in one draw. Deeper vessels, narrower diameters, tighter radii or demanding material combinations may need redrawing. Each redraw changes diameter, height or profile while consuming remaining formability.
Stage count is a process-design decision, not a quality grade. Published drawing limits explain why redrawing exists, but they are not universal cookware acceptance limits. The actual body still has to meet the agreed thickness distribution, dimensions, surface requirements and change-control rules.
When Is Annealing Needed Between Drawing Stages?
Cold forming strengthens and hardens austenitic stainless steel while reducing remaining formability. A severely formed monolithic body may need intermediate annealing before another draw, depending on grade, supplied condition, accumulated strain and geometry.
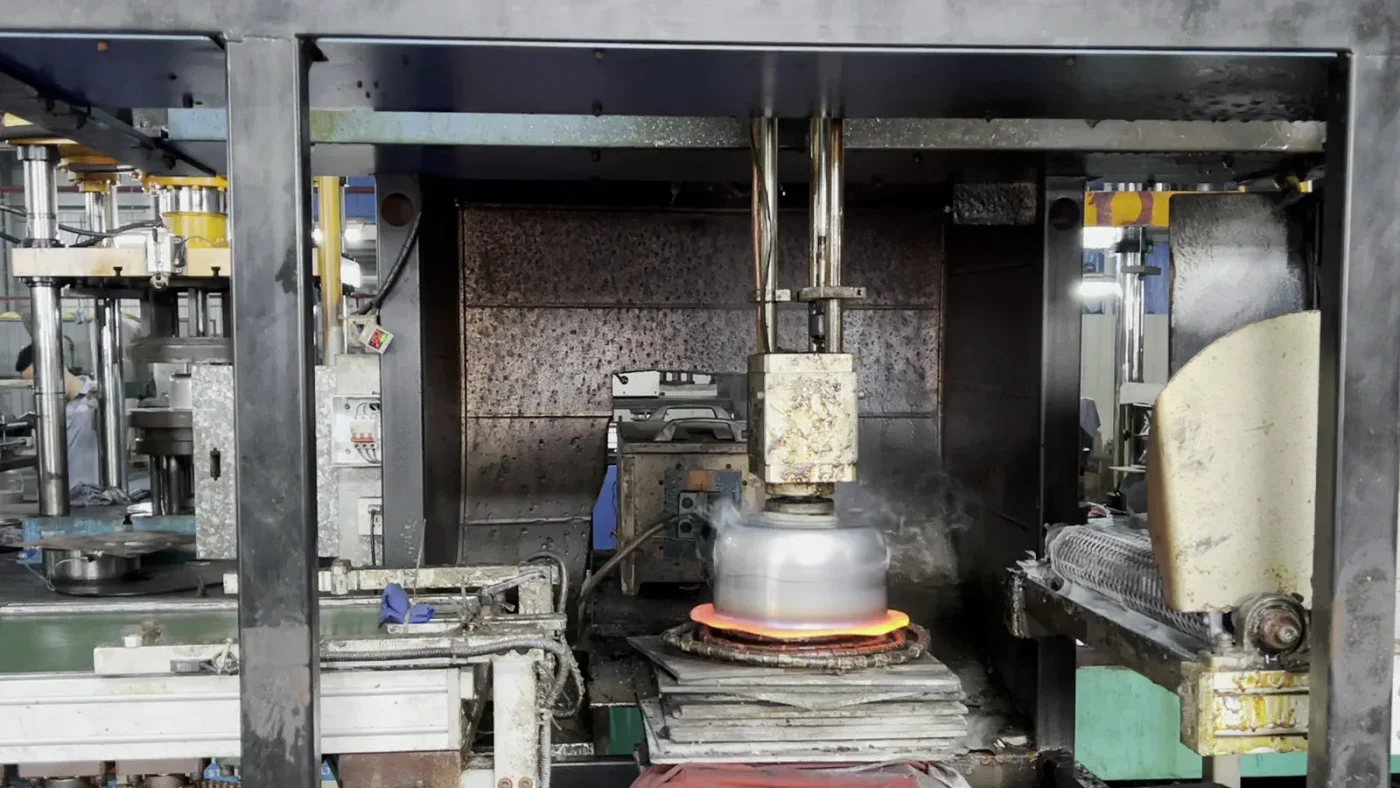
Intermediate annealing, where required, reduces the work hardening accumulated during forming.
Critical distinction: a stainless/aluminum/stainless full-clad body requires a material-specific, validated thermal route. A high-temperature treatment used for monolithic stainless steel must not be transferred automatically to a clad body containing an aluminum core and bonded interfaces.
Clad layers differ in strength, ductility and thermal response, while temperature may alter aluminum and interface behavior. Research on deep drawing SUS304/AA1050/SUS430 laminated sheet supports location-specific thickness checks, but its parameters are not a factory recipe.
If heat treatment produces oxide scale, restoration may include descaling or pickling. Pickling, passivation and degreasing are not interchangeable; the ASSDA guidance distinguishes them. No treatment should be assumed for a Goldensea SKU without confirmation.
Step 6: Size and Calibrate the Cookware Body
A crack-free shell may still show springback, ovality or profile variation. Sizing, restriking or calibration brings an acceptable body to specified geometry; it cannot repair cracks or excessive thinning.
Define measurement locations and gauges. Check the opening on two axes, roundness, profile, bottom geometry and lid or gauge fit. Distinguish pre-trim from final body height.
Equipment varies by factory. Do not assume sizing is hydraulic or automated; the measurable result matters more than the equipment label.
Step 7: Trim and Prepare the Rim
Planar anisotropy can produce alternating high and low points around a drawn edge, known as earing. ISO 11531:2022 provides an earing-test framework, although each contract must define its applicability.
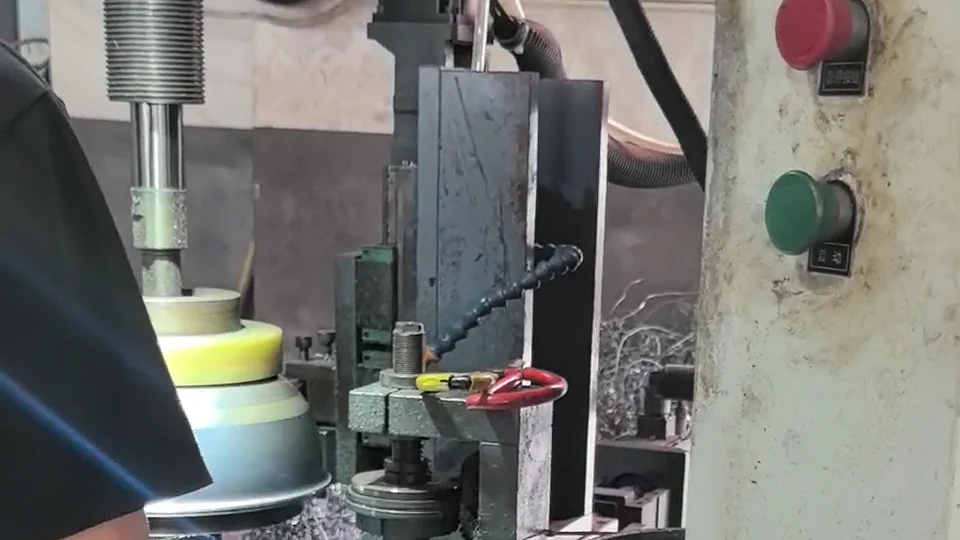
Excess material is trimmed to set an even body height and prepare the edge for later rim operations.
Trimming removes earing and allowance, establishes final height and gives later rim operations a consistent reference. Check edge level, burr, roundness, height and lid or gauge fit.
Deburring removes sharp projections. Flanging changes the edge angle, while curling or beading forms a rounded or reinforced profile. A sealed or protected rim on full-clad cookware is a further product-design choice intended to manage the exposed multilayer edge. These terms should not be used as synonyms. Buyers deciding how to specify the final edge can use our sealed rim versus exposed aluminum edge guide.
Reading Common Forming Defects
Deep-drawing defects are usually interaction effects. Material condition, blank geometry, tooling, lubrication, holder force and drawing sequence should be reviewed together before assigning a root cause.
| Defect or observation | Possible contributing factors | Buyer verification |
|---|---|---|
| Wrinkling | Restraint, blank size, flow or lubrication | Inspect the unpolished flange and wall |
| Tearing | Restraint, tight radii, friction or ductility | Inspect transition zones |
| Excessive thinning | Restricted flow or local stretching | Measure base, radius, wall and rim |
| Earing | Anisotropy and rolling texture | Compare pre-trim edge and final height |
| Galling or scoring | Tool condition, lubricant or local pressure | Inspect unpolished first and later pieces |
| Ovality | Strength, residual stress and geometry | Measure defined axes and lid fit |
| Uneven trim | Clamping or cutting-tool condition | Check height, burr and roundness |
| Interface damage | Bond, layer ratio, forming or heat route | Review evidence and sectional samples |
Polishing can reduce superficial marks, but it cannot restore thickness, close a split or correct geometry. Approve forming quality before heavy finishing.
Pre-Production Checks for B2B Buyers
Sample Approval
- Drawing and construction: identify monolithic, impact-bottom or fully clad construction and the layer stack.
- Material evidence: record grade, gauge, supplied condition and batch traceability.
- Geometry: define height, diameters, roundness, profile and base-to-wall radius.
- Thickness map: specify base, transition, wall and rim measurement points.
- Unfinished body: retain pre-polish photographs or a shell where justified.
- Rim: distinguish cut, flanged, curled, beaded or protected edges.
- Golden sample: number it and attach drawings, methods and defect limits.
First Production Run
- Define incoming material and blank checks.
- Identify first-piece checks after drawing, sizing and trimming.
- Agree limits for wrinkles, scoring, dents and edges.
- Set dimensions, tools and acceptance criteria.
- Document tool-maintenance triggers.
- Require reapproval after major material, blank, tooling or geometry changes.
Batch Inspection
Focus batch inspection on measurable outcomes, not confidential press settings. Record appearance, agreed dimensions, thickness or weight, edge safety, lid or gauge fit, batch identity, sampling, disposition and corrective action against the approved specification and numbered sample.
Frequently Asked Questions
Is every stainless steel cookware body made by deep drawing?
No. Deep drawing is common for seamless bodies, but spinning, pressing, casting and fabrication are also used. The choice depends on material, geometry, production volume and tooling.
Why are some cookware bodies drawn more than once?
A deeper or narrower vessel may not form reliably in one draw. Redrawing changes its diameter, height or profile in controlled stages. The finished body—not the stage count—is the basis for approval.
Does deep drawing make the cookware sidewall thinner?
It can, but the change is not uniform. The base, transition radius, wall and rim follow different strain paths, so thickness needs to be checked at defined locations.
Is annealing required after every drawing stage?
No. Intermediate annealing depends on the material, accumulated cold work, geometry and drawing sequence. A route intended for monolithic stainless steel cannot automatically be applied to an aluminum-core full-clad body.
How is an uneven rim corrected after deep drawing?
The body is trimmed to remove earing and excess allowance, establish final height and create an even edge before deburring or rim forming.
What should buyers inspect on an unfinished cookware body?
Check material identity, dimensions, roundness, thickness at agreed points, wrinkles, splits, scoring, dents and the trimmed edge. For critical full-clad projects, sectional samples can be agreed for layer-stack review.
Conclusion
A consistent cookware body depends on material, blank design, tooling, lubrication, drawing sequence, conditional heat treatment, sizing, trimming and inspection. Labels such as “304” or “tri-ply” do not prove formed-shell quality. Approve measurable results on the actual vessel and require reapproval after significant changes.
A separate guide will cover sanding, polishing, cleaning, assembly, final inspection and packing so those operations are not confused with body-forming controls.
To discuss an OEM or private label project, contact Goldensea with your target cookware type, dimensions, material construction, thickness, order quantity, market and packaging requirements. The team can review the specification and sample-validation needs for the intended product.

Mei is a dedicated Sales Specialist at Goldensea with over 10 years of experience in the B2B kitchenware industry. Possessing deep technical knowledge of manufacturing and sourcing, she has successfully helped countless global clients navigate complex supply chain challenges and find the perfect culinary solutions.
Connect with Mei on LinkedIn or reach out for professional kitchenware advice.