





How cookware is finished and assembled depends on its surface specification, handle design and intended use. After the body is formed and trimmed, finishing controls appearance, cleaning removes process residues, and assembly brings the vessel, handles and lid together. Inspection and packing then help preserve the approved condition through delivery. For importers, private label brands and wholesale buyers, these stages should be discussed through samples and measurable acceptance criteria. This article continues our stainless steel cookware body manufacturing guide, covering the work that turns a formed shell into a finished product ready for a bulk order.
Key Takeaways
- Approve the finish separately for the interior, exterior, base and handles, using written requirements and a numbered reference sample.
- Cleaning needs a material-compatible process, effective rinsing and drying, and an agreed way to assess remaining residues.
- Handle-hole preparation and handle attachment are separate operations; connection quality depends on design, process control and testing.
- Check lid fit, assembly condition and protective packaging against the actual product and delivery route.
Contents
- What Happens After the Cookware Body Is Formed?
- Sanding and Surface Preparation
- Polishing or Brushing to the Specified Finish
- Cleaning Away Polishing Residues
- Preparing Holes and Installing Handles
- Fitting Lids and Checking the Assembly
- Final Inspection and Protective Packing
- What Should B2B Buyers Confirm Before Production?
- Frequently Asked Questions
What Happens After the Cookware Body Is Formed?
Cookware finishing and assembly cover surface preparation, the specified appearance, residue removal, component attachment and final release. A useful way to review this work is to ask what each operation must achieve:
- Prepare the surface: address suitable superficial marks and burrs.
- Produce the finish: match the approved texture and reflection.
- Clean the product: remove relevant oils, polishing media and particles.
- Prepare and attach components: position handles, fittings and lids.
- Inspect the result: compare the finished assembly with the specification.
- Protect for delivery: control contact, movement and packaging damage.
These are review stages, rather than a universal production sequence. Cleaning or local finishing may occur more than once, particularly around joining operations. The photographs below illustrate individual operations and should not be read as one model’s complete manufacturing route.
Sanding and Surface Preparation
Sanding uses abrasives to work the surface. Grinding generally removes material more aggressively; deburring addresses projections at edges or holes. The choice depends on the mark being treated and the finish required. A formed body should already have passed its dimensional and structural checks before substantial surface work begins.
Abrasive finishing removes metal as it smooths the surface. It can reduce shallow marks, but cracks, excessive thinning and shape defects need separate assessment. Reworked areas should be checked again for surface quality and relevant dimensions.
The Euro Inox mechanical finishing guide explains why tool selection, heat input and contamination control matter. Abrasives carrying coarse particles can introduce new scratches, while contact with carbon-steel contamination can compromise a stainless steel surface. Dedicated tools and clean handling therefore deserve attention alongside the visual result.
The finished surface matters more than the machine name or abrasive grit alone.
Polishing or Brushing to the Specified Finish
Mirror, Brushed and Satin Finishes
Polishing uses abrasives to reduce surface marks; buffing may be used in a later stage when a reflective appearance is required. Brushing creates or organizes directional texture. Satin describes an appearance that still needs a sample to define its particular sheen and texture. These methods can be selected or combined for the product.
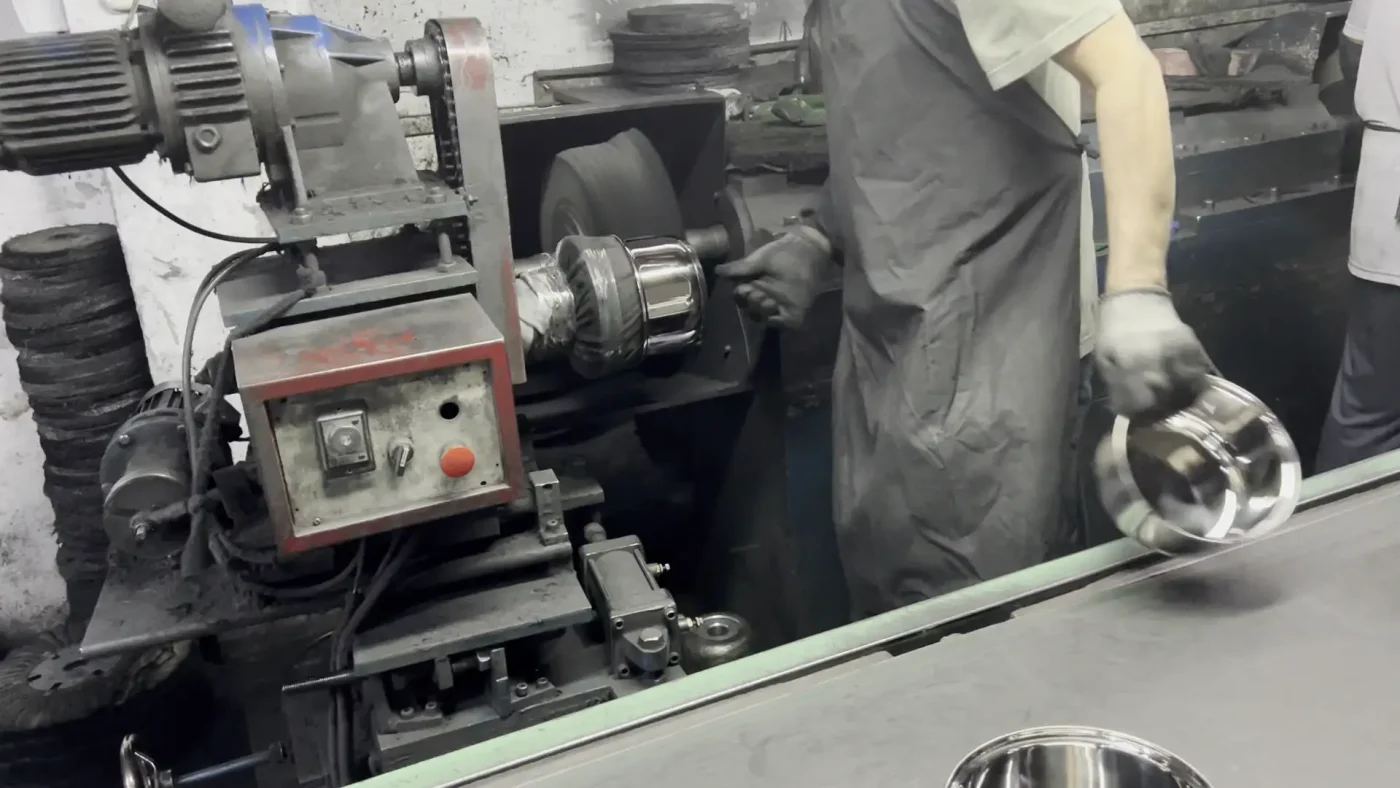
A worker handles stainless steel cookware bodies beside polishing equipment.
A private label line may specify a reflective exterior with a different interior finish, while another project may emphasize consistent directional brushing. Compare the actual samples under the same viewing conditions. A mirror finish describes appearance; any nonstick coating or performance claim requires separate evidence.
Approving Surface Consistency
A clear finish specification helps both teams compare production pieces with the approved sample:
| Specification item | What to agree |
|---|---|
| Surface zones | Interior, exterior, base, rim and handle requirements |
| Reference sample | Numbered approved sample, plus defect boundary samples where useful |
| Texture | Direction, transitions and consistency around locally finished areas |
| Viewing conditions | Agreed lighting, distance and method of observation |
| Defect limits | Acceptance limits for deep scratches, spots, polishing bands and color differences |
| Measurement | Location, method and limit for any agreed roughness or gloss value |
Surface roughness adds one measurable dimension. Ra describes average profile deviation, but similar values can accompany different surface shapes. Euro Inox’s roughness measurement guidance also explains the limitations of using abrasive grit as a predictor. If an Ra limit is specified, record where and how it will be measured.
Cleaning Away Polishing Residues
Surface work can leave polishing compounds, oils and loose particles. Subsequent handling may add fingerprints or other contamination. Cleaning must address the residues associated with the actual route and preserve the result through assembly and packing.
What Ultrasonic Cleaning Does
Ultrasonic cleaning uses sound energy in a liquid to produce cavitation: small bubbles form and collapse, helping loosen contamination. Elma’s explanation of ultrasonic cleaning describes the removal of residues such as polishing paste and grease, while emphasizing the relationship between the material, geometry, cleaning medium and operating conditions.
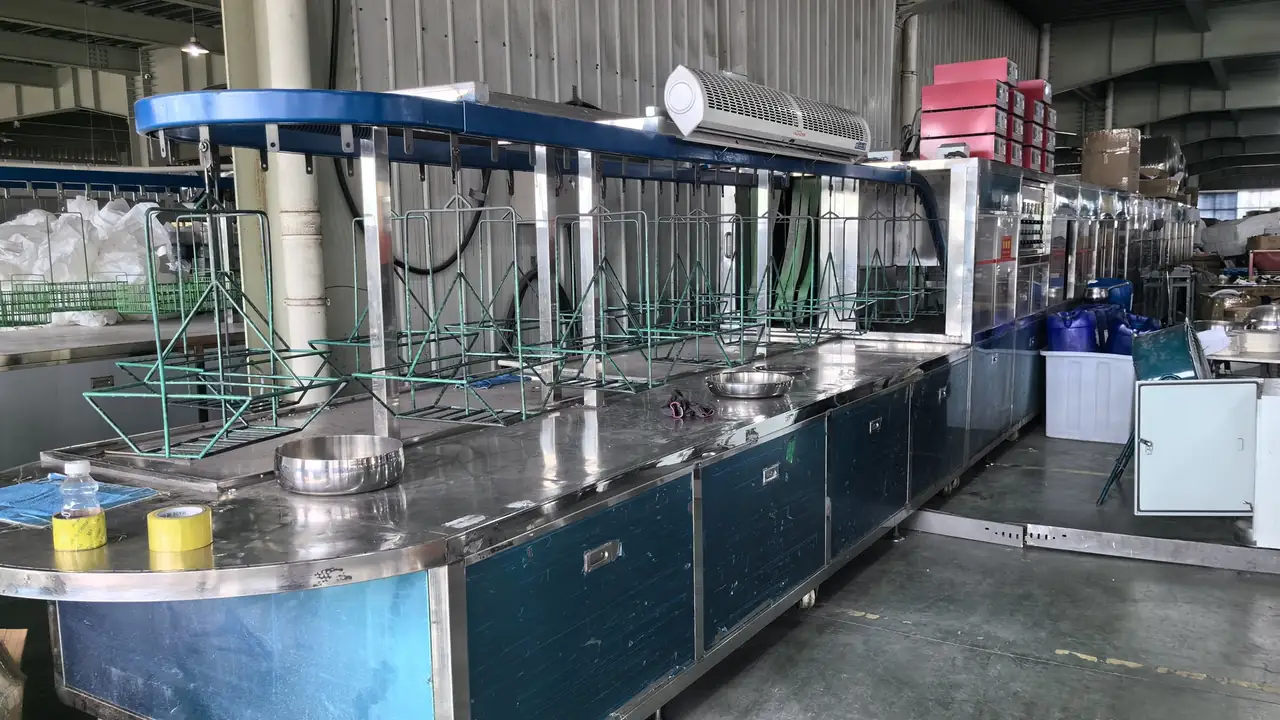
An ultrasonic cleaning production line with overhead transport and hanging loading racks.
A cleaning line is one part of the process. Buyers can ask how the product is loaded, how the liquid reaches relevant surfaces, and how bath contamination is managed. Time, temperature, chemistry and other operating conditions should be validated for the particular item.
Why Rinsing, Drying and Material Compatibility Matter
Rinsing carries away cleaning solution and loosened residues. Drying and controlled handling help maintain the cleaned condition before the next operation. Clean fixtures, storage areas and packaging materials help prevent contamination during later operations.
The cleaning medium must suit every exposed material. As a specific example, Elma’s EC 124 product information excludes aluminum and its alloys. For a clad vessel with an exposed aluminum edge, compatibility must be checked against both metals. This restriction applies to that formulation; other cleaners need their own compatibility checks.
A bright surface can still carry invisible residue. ASTM A380/A380M-25 notes that visual inspection may miss thin oil or chemical films. A visible-residue check and any project-specific wipe or residue test should have defined purposes and acceptance criteria.
Process clarification: ultrasonic equipment alone does not establish chemical passivation, sterilization or food-contact compliance. Where acid treatment or passivation is part of the product route, confirm its purpose and validation separately.
Preparing Holes and Installing Handles
Positioning and Hole Preparation
Some attachment routes require holes in the cookware wall. The drawing should establish their position, spacing and relationship to the handle or bracket. Buyers should review alignment, hole-edge condition and nearby surface damage on the actual sample.
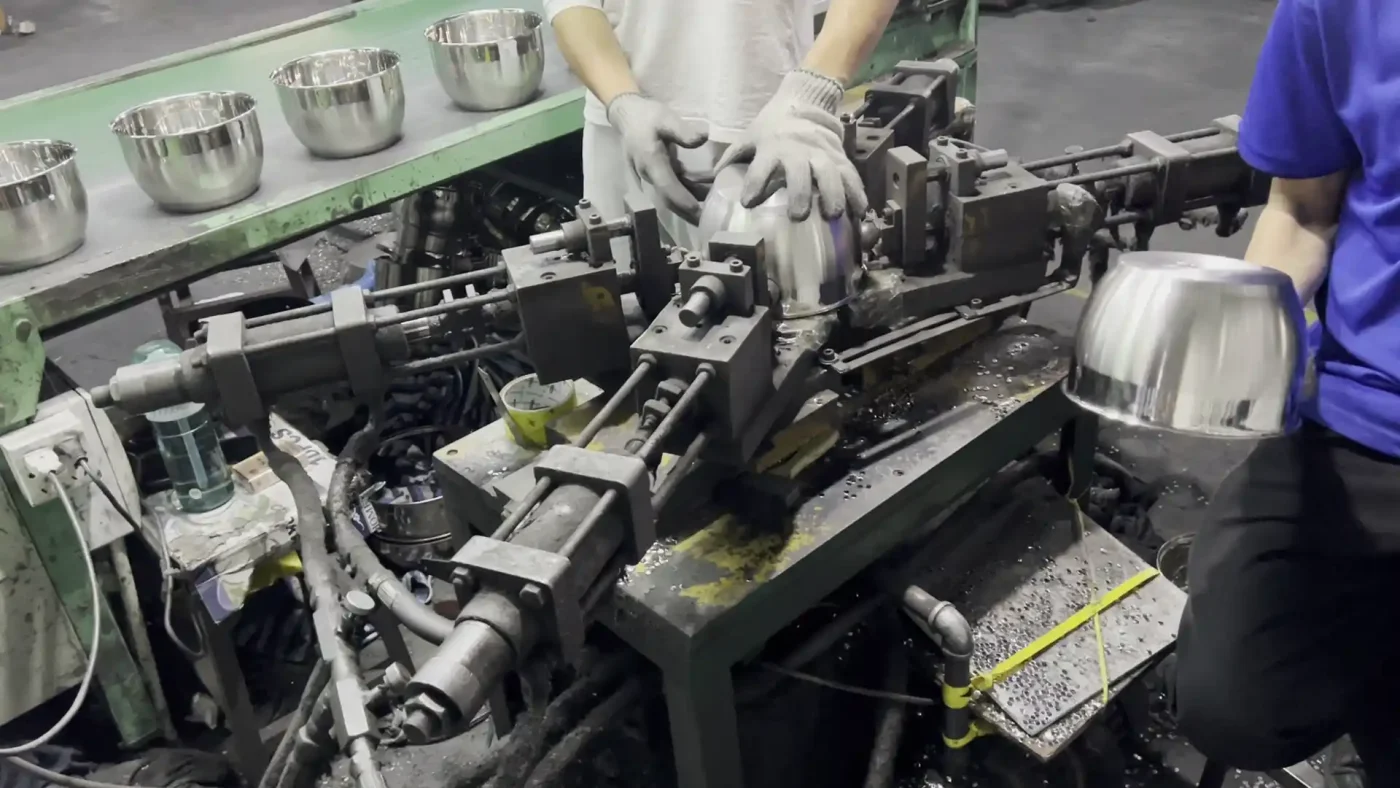
Workers position cookware bodies at equipment used to prepare handle attachment holes.
Hole making prepares a connection location. Where required, deburring and residue removal belong in the approved route. Long handles, helper handles and paired side handles also need suitable angle and clearance checks. Their requirements should follow the product drawing, rather than a generic hole count or dimension.
Riveted, Welded and Other Attachment Routes
The Cookware & Bakeware Alliance guide describes several handle attachment methods. The table below gives practical purchasing questions for each route, without ranking their strength:
| Attachment route | Buyer verification |
|---|---|
| Riveting | Fastener specification, formed joint, looseness and cleaning access |
| Welding | Joint design, validated joining process, surface condition and mechanical performance |
| Screw fastening | Mating components, tightening and anti-loosening provisions, intended temperature range |
| Detachable mechanism | Matching cookware, reliable locking and release, and repeated-use performance |
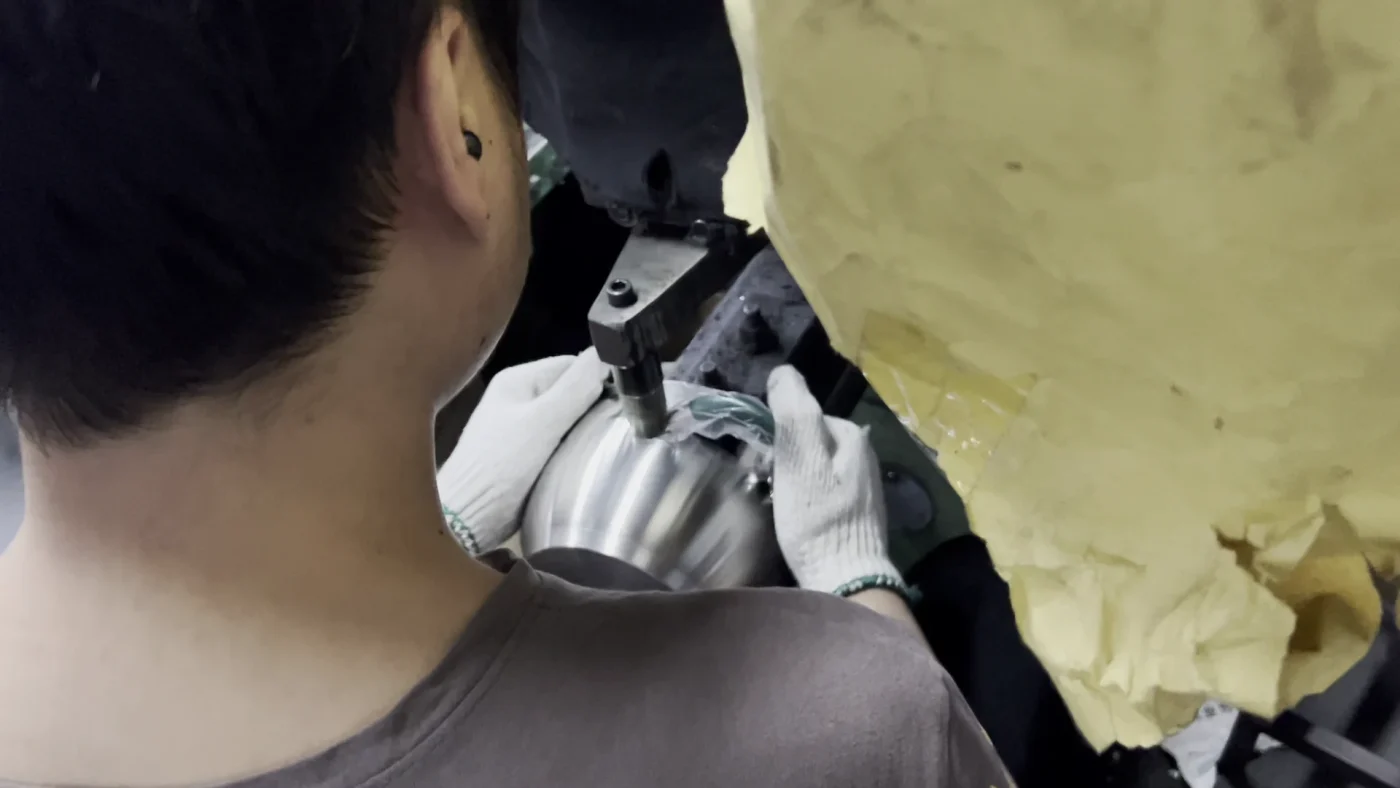
A worker holds a stainless steel cookware body at a handle attachment station.
Checking Alignment and Joint Performance
Assembly inspection can identify incorrect positioning, rotation, obvious looseness and visible damage. Load testing assesses the joint’s strength and durability beyond what a visual inspection can show.
SGS’s 2023 domestic cookware testing overview identifies handle pull-off, torsion, bending and fatigue as testing directions. Choose applicable mechanical and thermal checks for the product and destination market. Test loads, cycles and acceptance limits need an agreed basis; the connection name alone cannot establish them.
Fitting Lids and Checking the Assembly
An ordinary non-pressure cookware lid should sit stably and lift normally with the designed clearance. The CBA guide discusses avoiding an excessively tight fit and providing for steam release. A normal saucepan or casserole should not be described as pressure-sealed.
During approval, check these points:
- The lid matches the actual opening and seats without binding.
- Metal edges, knobs and fittings meet the agreed finish and assembly requirements.
- Glass lids have no visible cracks, chips or assembly damage; protective components match the design.
- Knob fastening and steam-release arrangements follow the approved specification.
- Any lid shared across a set is checked on each intended vessel.
A nominal diameter alone does not settle compatibility. Keep the approved lid and vessel together as an assembly reference.
Final Inspection and Protective Packing
Separate Finished-Product Checks from Validation
Ask the supplier to distinguish routine checks, batch acceptance and product validation. The following framework helps define the evidence required for the order:
| Review level | Typical focus | Agreement needed |
|---|---|---|
| Finished-product checks | Appearance, visible residues, edges, alignment, lid fit and components | Inspection points and frequency |
| Batch acceptance | Agreed defects, quantities and packaging | Lot definition, sampling and acceptance rules |
| Product validation | Relevant mechanical, thermal and other performance tests | Applicable method, product coverage and limits |
| Specialist verification | Required residue or food-contact evidence | Material, model, market and report scope |
For a broader order review, see our stainless steel cookware quality checks before a bulk order.
Protect the Approved Condition Through Delivery
After inspection, protection should address the points where the vessel, lid, handles and neighboring pieces can rub or strike one another. Check the actual packed sample for separators, restraint and suitable contact materials.
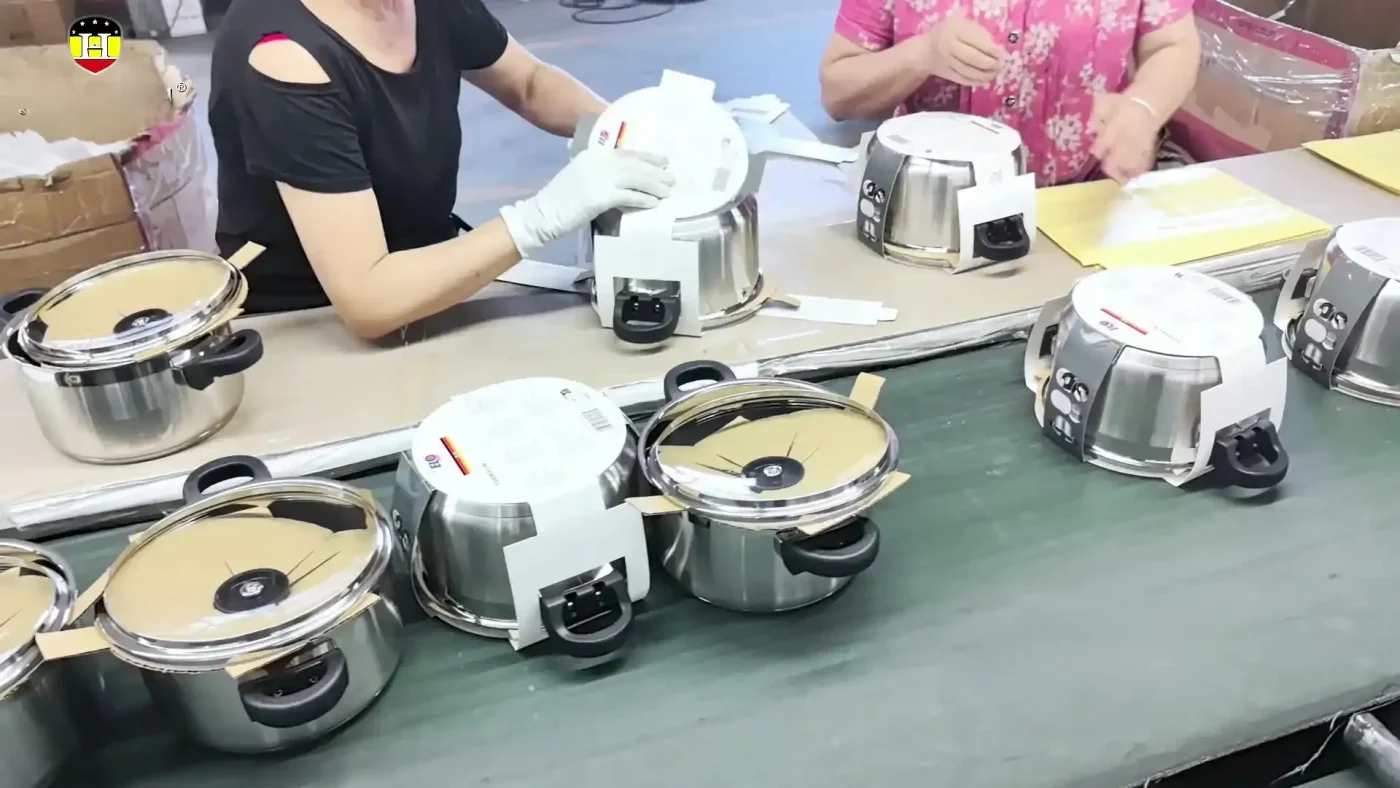
Paper protectors are fitted around assembled cookware during packing.
For a nested set, review contact between bases, rims and lids. Confirm that loose accessories remain secured and unpacking does not introduce avoidable surface damage. Retail packs and bulk cartons may need different arrangements.

Workers prepare cartons in a packing area with stacks of labeled boxes.
Choose transport validation around the distribution route. ISTA’s procedure descriptions distinguish individual parcel shipments, such as the applicable 3A scenario, from unitized truckload shipments addressed by 3E. Where transport testing is required, test the agreed product and packaging together.
What Should B2B Buyers Confirm Before Production?
Use these eight points to bring the finish and assembly requirements into the OEM order specification:
- Finish by area: approve interior, exterior, base, rim and handle surfaces.
- Appearance limits: retain the numbered sample and agree defect and viewing criteria.
- Cleaning: establish material compatibility, residue assessment and protection after cleaning.
- Attachment: identify the actual handle connection and its drawing requirements.
- Validation: agree mechanical and thermal checks with matching product evidence.
- Lid fit: approve the complete vessel-and-lid combination.
- Packaging: retain a packed sample and define delivery-related validation.
- Changes: require review when relevant materials, finish, joints or packing change.
Goldensea’s tri-ply stainless steel cookware range provides a starting point for product selection. Use the custom cookware project options to discuss the finish, handle, lid, logo and packaging combination. Exact requirements should be confirmed through the project specification and samples.
Frequently Asked Questions
Are sanding, brushing and polishing always separate consecutive steps?
No. Sanding, brushing and polishing may be selected or combined to suit the starting surface and target finish. Local finishing may also occur at different stages.
Does a mirror finish make stainless steel cookware nonstick?
No. A mirror finish describes a reflective surface. It does not prove the presence of a nonstick coating or guarantee that food will not stick.
Why is cookware cleaned after polishing?
Polishing can leave compounds, oils and particles. Cleaning removes these residues, rinsing carries away cleaning solution, and drying prepares the surface for later handling.
Is ultrasonic cleaning the same as passivation?
No. Ultrasonic cleaning helps remove residues through cavitation in a liquid. Chemical passivation depends on the treatment chemistry and conditions; the equipment alone does not prove it occurred.
Are riveted handles always stronger than welded handles?
No. Both are established methods. Strength depends on joint design, materials and production quality, and should be assessed through tests on the finished assembly.
Should a cookware lid fit as tightly as possible?
No. A non-pressure lid needs the designed clearance for normal removal and steam release. It should seat stably without binding on the actual vessel.
Discuss Your Finished Cookware Specification
Goldensea supports private label and OEM cookware projects for overseas buyers. Contact Goldensea with your cookware type, target finish, handle and lid preferences, order quantity, destination market and packaging requirements to discuss samples and a project quotation.

Mei is a dedicated Sales Specialist at Goldensea with over 10 years of experience in the B2B kitchenware industry. Possessing deep technical knowledge of manufacturing and sourcing, she has successfully helped global clients navigate complex supply chain challenges and develop suitable cookware solutions.
Connect with Mei on LinkedIn or reach out for professional kitchenware advice.